TLDR
- Confirm the Pixel model and carrier support eSIM.
- Keep the physical SIM active while requesting replacement.
- Use Settings, Network and internet, SIMs, and Add SIM.
- Install only the profile supplied for this conversion.
- Remove the card after calls, texts, and data work on eSIM.
Check Pixel support and account eligibility
Find the model and IMEI under Settings and About phone. Search Settings for EID. Confirm the exact version with uPhone’s device compatibility checker.
Early Pixel and carrier-specific models can have different eSIM rules. The phone must also be unlocked when the eSIM comes from another carrier. Ask the carrier to confirm the model and current plan can use eSIM.
Update Android, charge the Pixel, and connect to private Wi-Fi. Leave the physical SIM inserted and working. Save the carrier account PIN and recovery method.
| Requirement | How to confirm |
|---|---|
| eSIM hardware | EID and Add SIM are present |
| Carrier approval | Plan is eligible for eSIM replacement |
| Device unlock | Carrier confirms no SIM restriction |
| Internet | Private Wi-Fi loads pages |
Ask the carrier to replace the physical SIM identity
Open the carrier app or account and look for Change SIM, Replace SIM, or Activate device. If no self-service option exists, contact support or visit a store.
Tell the carrier the phone and number are staying the same and only the SIM type is changing. Provide the Pixel’s EID and requested IMEI. Confirm that the order does not add another line.
The carrier can send the profile directly, issue a QR code, or provide an activation code. Do not use a QR code from an unrelated plan.
The existing line proves service and may receive the security code needed to approve conversion.
Download the carrier profile in Pixel settings
Open Settings, Network and internet, SIMs, and Add SIM. Choose Set up an eSIM or Download a SIM instead. The exact words vary by Android version.
Scan the carrier QR code from another screen or follow the carrier activation prompt. For manual setup, copy the SM-DP+ address and code exactly. uPhone’s eSIM installation guide can help with these paths.
Wait until the new line appears in SIMs. The physical SIM may lose signal as the carrier completes the replacement. Restart the Pixel after activation if no network name appears.
When the code says it is used
Check whether the eSIM is already listed. If it is absent, ask the carrier to reset or replace the code. Repeated scanning will not renew it.
Keep the number while changing the SIM type
The carrier account should assign the existing number to the new profile. Conversion is not a number port because the carrier is not changing. The phone number, plan, billing date, and voicemail should remain.
Check the carrier account once the eSIM appears. The Pixel’s EID or eSIM IMEI should now be associated with the line. If a new number appears, stop and contact the carrier before using it.
When a second travel line is also installed, label the converted line Home and follow uPhone’s Dual SIM setup guide.
Test the Pixel before taking out the card
Make and receive calls. Send and receive SMS. Turn Wi-Fi off and load a fresh page. Check voicemail, caller ID, RCS, and any bank code you need.
If data fails, open the eSIM settings and check Mobile data, roaming, preferred network, and APN. Keep the profile installed and use uPhone’s eSIM troubleshooting guide.
After every test passes, power the Pixel off and remove the physical SIM. Start it again and repeat one call and data test with no card inserted.
Finish your Google Pixel physical SIM to eSIM conversion
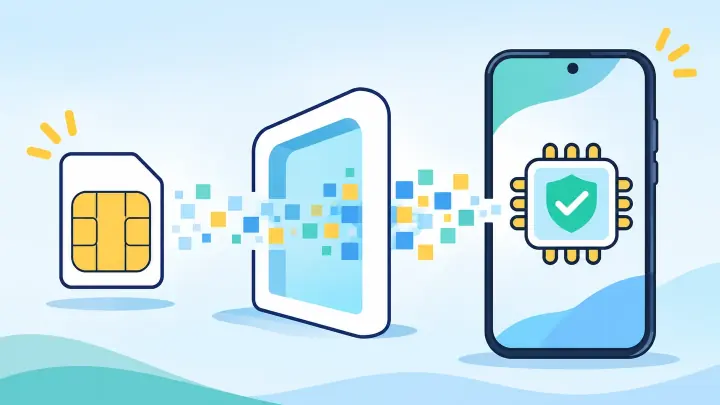
The carrier replaces the line’s physical SIM identity, and Pixel downloads the approved profile. Keep the card until the new profile proves it controls the same number.
For a future phone change, use uPhone’s eSIM transfer guide instead of trying to convert the old plastic card again.