How To Install Your eSIM
Follow these steps to get connected in under 2 minutes. Make sure you have a Wi-Fi connection before starting.
Before you start: Your iPhone must be eSIM-compatible (iPhone XS or later) and carrier-unlocked. You'll need a Wi-Fi connection.
1
Connect to Wi-Fi
Make sure you're connected to Wi-Fi. You'll need internet to download the eSIM profile.
2
Open your email on your iPhone
Find the uPhone email with your QR code. Open it directly on your iPhone — no need for a second device.
3
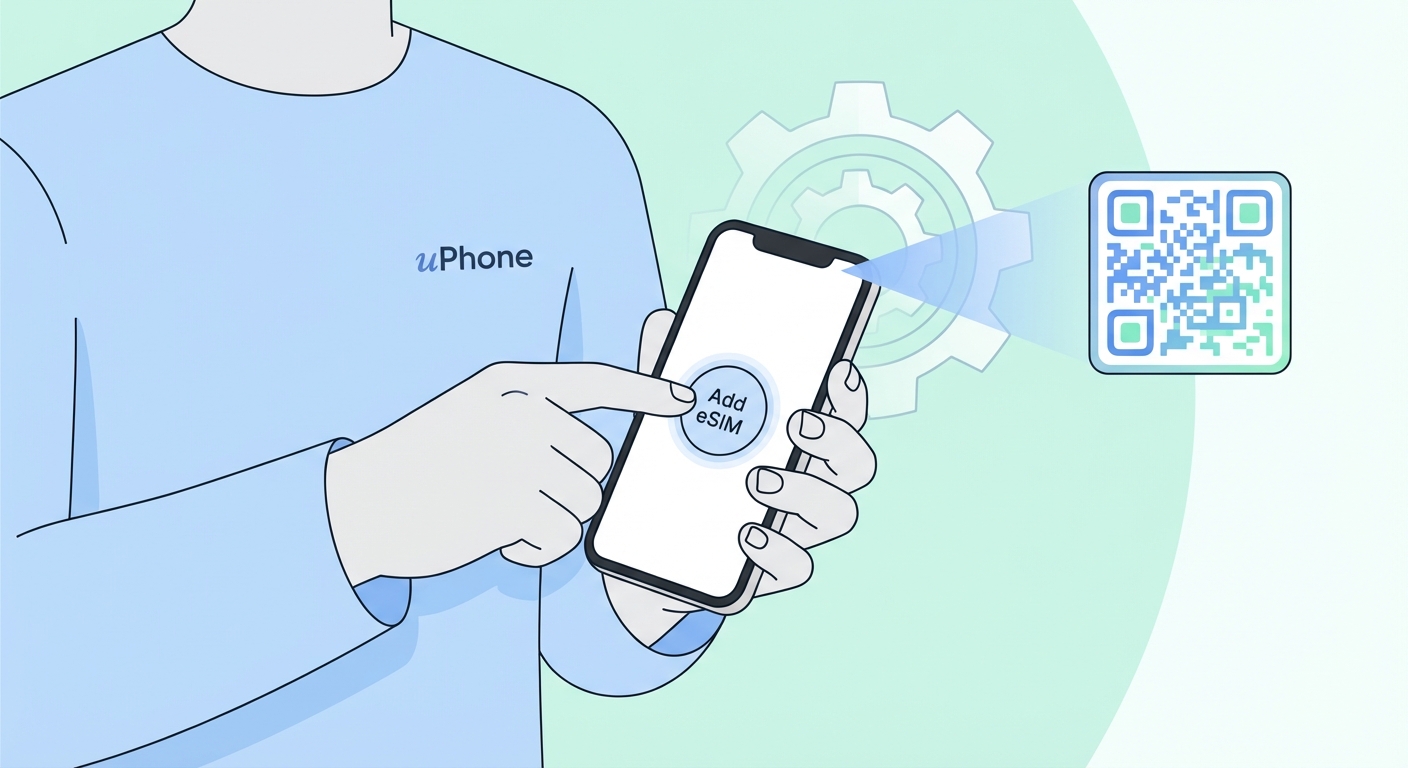
Hold down the QR code image
Press and hold your finger on the QR code image in the email. A menu will pop up — tap "Add eSIM". This is the fastest method on iPhone.
4
Alternative: use Settings
If hold-down doesn't appear, go to Settings → Cellular → Add eSIM → Use QR Code and scan the code with your camera.
5
Scan the QR code
If using the Settings method, point your iPhone camera over the QR code. Your iPhone detects it automatically.
6
Activate & label
Tap Continue and then Add Cellular Plan. Label it with your destination (e.g. "Japan trip"). Done!
Quickest way on iPhone
Open the uPhone email on your iPhone, then hold your finger on the QR code until a popup appears. Tap "Add eSIM" — done in seconds, no need to open Settings.
Tip
You can install the eSIM before you travel and turn it on when you arrive. Go to Settings → Cellular → your eSIM plan → toggle it on/off as needed.
Troubleshooting
Make sure you're scanning the QR code on a different device or a printed copy. If the code has expired, contact support to reissue it.
Your device may be carrier-locked. Contact your carrier to unlock it, or check your device settings under Cellular for an eSIM option.
Enable Data Roaming on your eSIM line. Go to Settings → Cellular → your eSIM → toggle on Data Roaming.
eSIM profiles are locked to the device they were first installed on. Contact our support team to arrange a replacement.